Monday, 3 January 2022

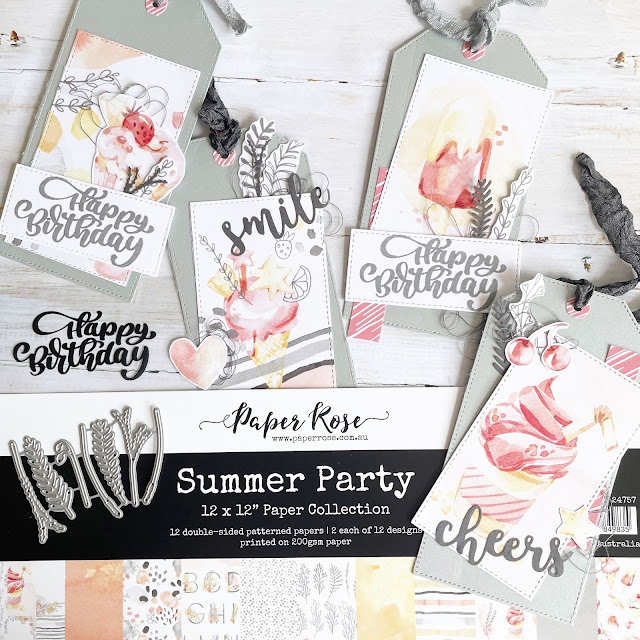
Summer Party Gift Tags


Helloooooo and Happy New Year!!!

Well lets see what 2022 brings us all. Lets hope its a 
better year than last year, but I do remember saying that 
last year too!!
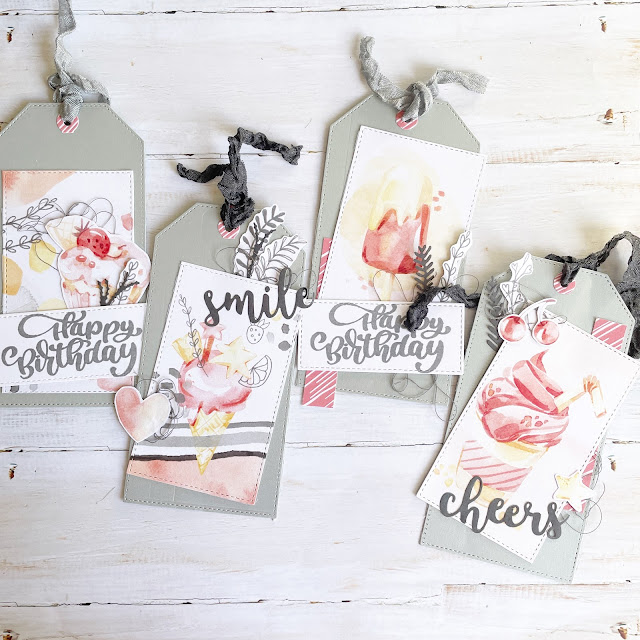

Today I'm sharing my Paper Rose Design Team project. 
After making so many gift tags for Christmas presents I 
thought why not make some for birthdays too. This 


To make these four tags I have used 19057 Silver Shimmer Cardstock. 
I diecut them out using 18412 Stitched Tags Die.

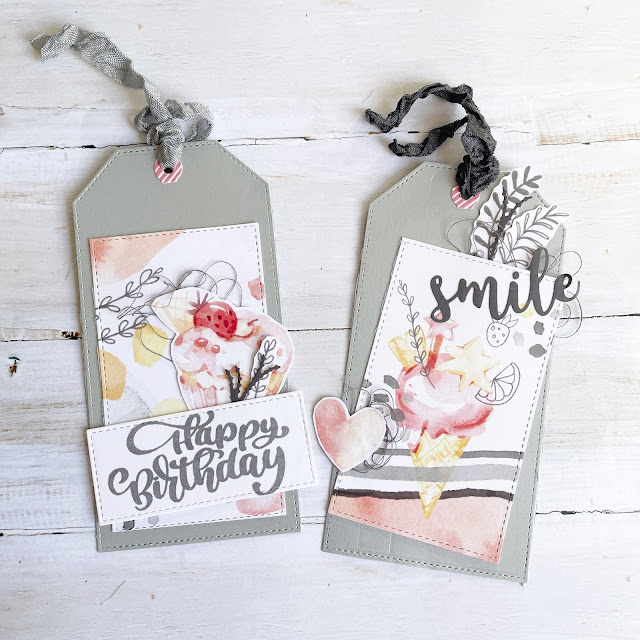
All the pieces were fussy cut or diecut using the 
I stamped the Happy Birthday sentiment using the
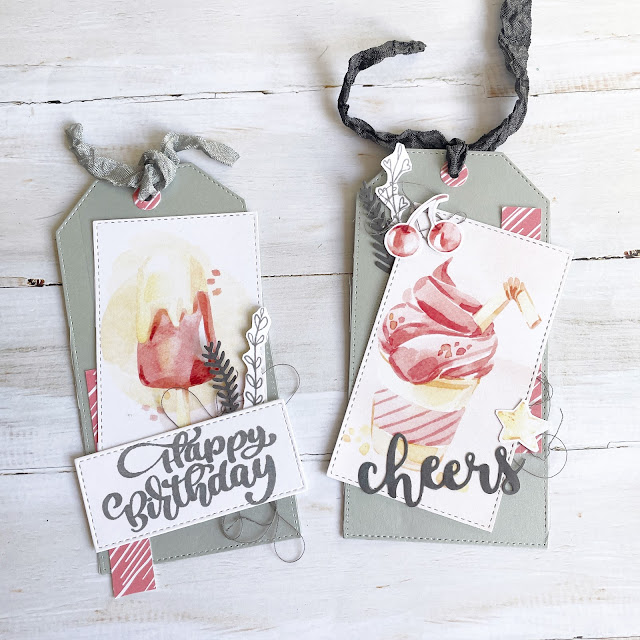

The tags were finished off with a little grey cotton and 
some ribbon through the tag.

Thanks for stopping by, I love having visitors 
Cheers Tanya xx

Friday, 24 December 2021

Merry Christmas

 MERRY CHRISTMAS to you all...

Wishing you a wonderful time with family and friends, 
stay safe and enjoy your time together.

Today I'm sharing one last card for 2021.
This is another card made using lots of gorgeous 
products from Paper Rose. 


First I stencilled onto the white cardstock using the stencil, a blending brush and distress oxides.

This stencilled piece was then matted using silver shimmer 
card and attached to my card front.
Snowflakes were diecut from silver shimmer card 
and silver glitter card.

The sentiment was stamped using a grey versa fine ink pad. The sentiment was then cut out using the banner die.

Below are all the Paper Rose products that I used to 
create this card.


Sunday, 12 December 2021

Christmas Cards


Well hello again...
Are you ready for Christmas? 
Have you made your Christmas cards yet?


Today I'm sharing some cards I have made for Paper Rose using 
some of the Christmas Paper Collections that I have in my stash.
These papers are perfect for cutting up into strips and 
adding to cards.


Black cardstock was used to matt the christmas paper and 
the sentiment was raised using foam tape to make it pop 
on the card.


Friday, 3 December 2021

Happy Birthday


Yikes it's December already.
I hope you are ready and organised for this crazy month.

Today I am sharing two birthday cards I made for my twin nephews.
So now you know why they are same same but different.


I love using distress oxides and a blending brush through 
stencils. I have blended two of each colour through the 
stencil but I love how the pressure applied to the blending 
brush can also change the colour tone of image stencilled. I 
have used a Paper Rose 18454 Blending Brush.


For these two cards I have stencilled using the 
When cutting the die, it comes with an outline piece and a 
centre piece. I have used the outline of the letters on the green 
card and the centre of the diecut pieces on the blue card. 

For the background of these cards I have applied washi tape to 
the edges of the card base. I have then blended ink to the card, 
once done I have then removed the washi tape to leave a crisp 
white edge.

The stencilled image on the white cardstock is then matted 
with black cradstock to allow it to pop more on the card and matches well with the black diecut sentiment.


Wednesday, 24 November 2021

Summer Vibes Layout

 Hello....

Oh my goodness have you seen how cute the Paper Rose 
Beach Hut stamps and papers are??
Jump onto the Paper Rose website and check them out. 


To create this fun layout I have fussy cut images from the 
23752 Beach Huts 12x12 Paper Collection. The background paper and 
photo matt paper are from this collection too.
I have coloured stamped images of beach huts using Stampin 
Blend markers. The images have then been fussy cut.
The Paper Rose stamps that I have used are 23785 Beach Hut 2, 

Cut the white cardstock to measure 25.5cm x 25.5cm. Distress the 
edges and stick onto the red spotty paper. Stencil across the white cardstock using the 19298 Cracked Stencil and some gesso or light moulding paste. Once dry add your photo and the fussy cut images. Add some gauze and sequins to finish off your layout.


Thanks for stopping by...see you in December YIKeS!

Friday, 12 November 2021

Hello my dear friend


Hello friends..
Time to share another project for Paper Rose. 
Those of you that know me well know how much I love hand 
stitching on cards and layouts.

For this card I have diecut using the 21060 Chloe's Coverplate Die. 
This is then stuck down onto a piece of paper from the 
Poke holes around the diecut and stitch using coordinating 
thread. Once stitched it can then be attached to your card front.
Diecut your sentiment using paper from the 
small sentiment using 19586 Sentiment Strip Dies and cut 
Lastly add a few small little flowers to finish your card off.


Wednesday, 3 November 2021

My Boy


November already....can you believe it??
Scary thing is, it will be Christmas before we know it.

It's my turn to share a DT project for Paper Rose. I love the 
thought I'd create a single page layout with it.


First thing I did was stencil some cogs lightly on the 
background paper. I have used 18867 Cogs & frames Stencil
I love using these brushes as you can add the ink as lightly 
or as heavily as you like.


Diecut out some cogs using the 17868 Cog Frame Die and some 
circles from the 21309 Track Circle Frame Dies. The cogs are 
cut from black and grey cardstock in my stash. The circles 
are from papers in the Dads Shed paper collection.

Fussy cut out cogs and double matt your photo using papers from 
the Dads Shed paper collection. Put your layout together. 
Draw around the edge of your layout using a black marker and 
splatter onto your layout using black ink.

Thanks for stopping by, see you back here on the 12th xx