Monday, 22 August 2022

Blueprint cards


Howdy. 

I've made these three cards using the fabulous 

I loved the new mechanical stamps so of course 
I had to have them all. 
I have used 27031 Mechanical stamp on all three cards, 
it was my favourite of them all. 


On this card I have used one of my favourite stencils. 
18397 Checkerplate Stencil and distress oxide black soot brushed through adds the perfect pattern to the printed paper.

I have also die cut out some cogs from the 17868 Cogs Framed Die 
to add more elements to the card. 

Finally the sentiment is from 25603 Rainbow Poppies Sentiments


To create this card I have used emerald Colour Blast Paste on black cardstock. It gives a really nice simmer to the card. 
The other stamped images on this card are from 
These images were stamped onto white cardstock and them dabbed onto black soot distress oxide and water.
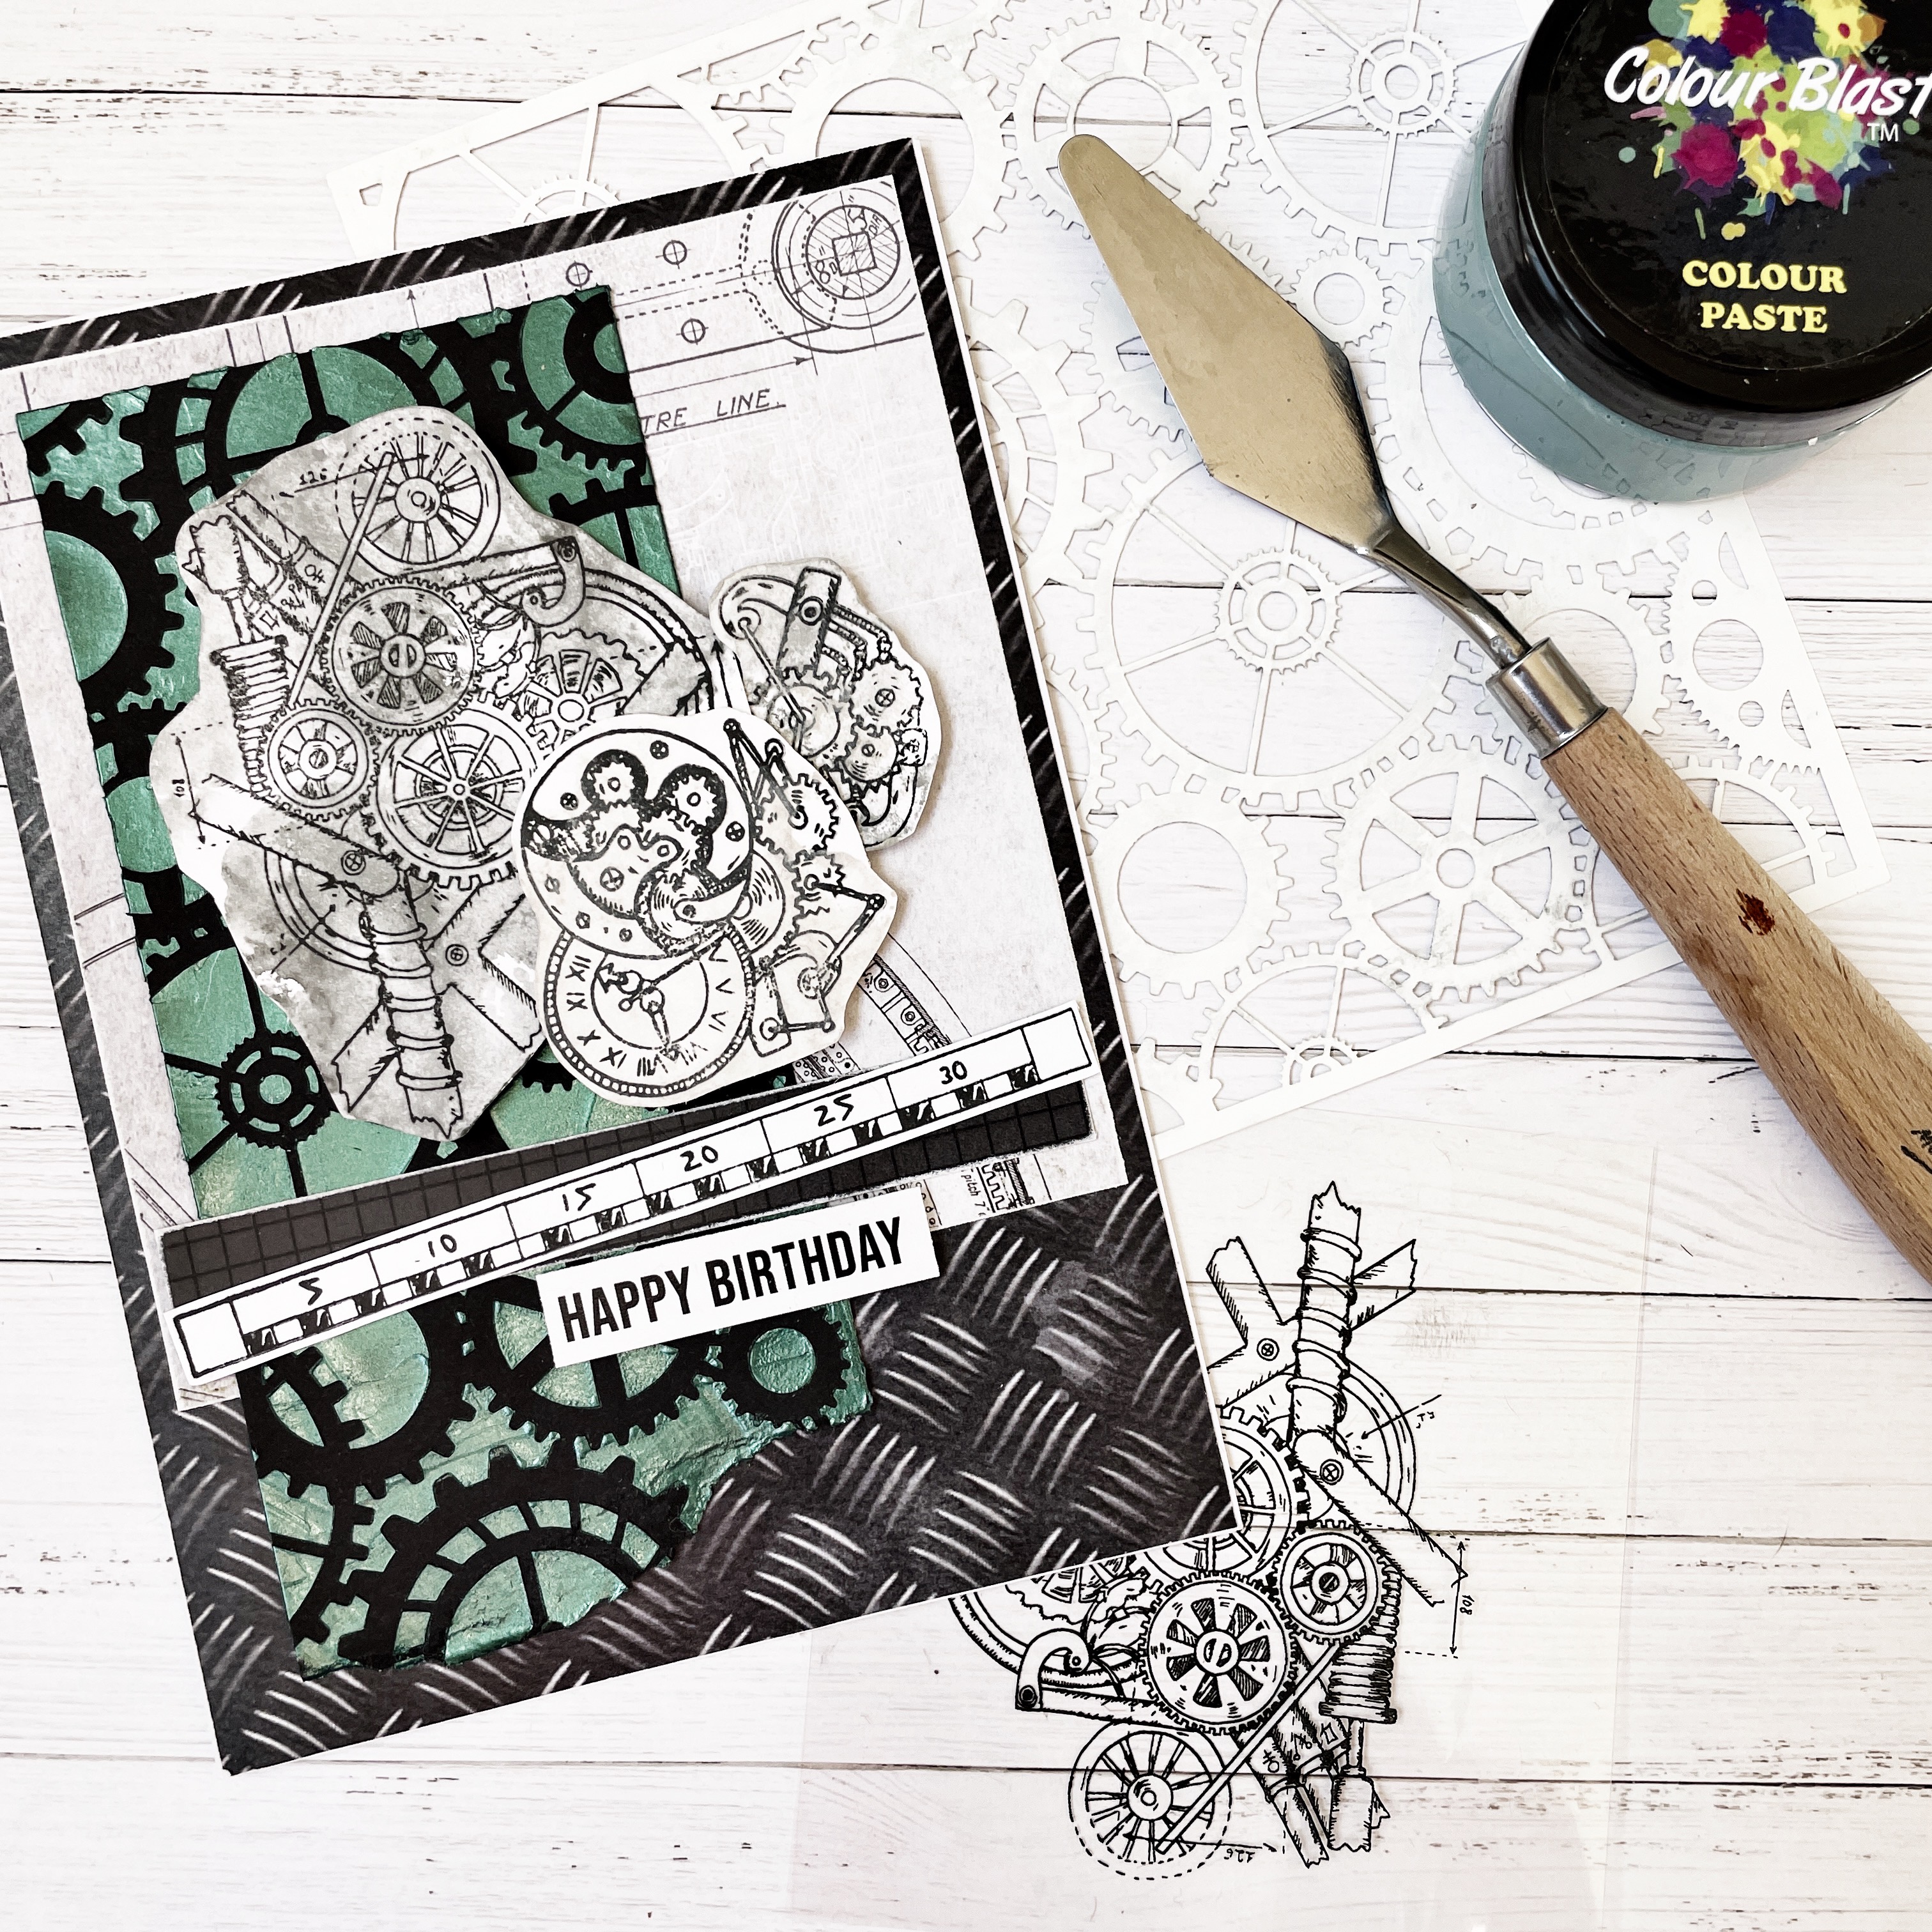

Finally this card was created using all the same items as 
listed above. The stamped image was coloured using some 
Grass Colour Blast Artist Ink. The sentiment was die cut from 


Friday, 12 August 2022

Windy - Poppy Field Layout


Hello.... 
Today I'm sharing a layout I have made using papers from the 


I'm sure you are wondering why I chose the title that 
I did...hehe
Well its because I wanted to keep it short but sweet, 
I didn't want it taking up too much of the layout.
To make the title I have diecut out squares using the 
16578 Stitched Squares Dies. I then cut out my words using the 
19619 Outline Alphabet dies. I love these dies because you can 
choose to use the inside of the diecut or the outline of the diecut.

to add to my fussy cut flower clusters.

Thanks again for stopping by. Happy crafting 
Cheers - Tanya x


Wednesday, 3 August 2022

Iris Shaker Card


Well hello..
Welcome to my first August Paper Rose DT share.
This is the first time I have made an Iris shaker card, 
really quite easy to make. 

 
The first thing I did to make this card was cut five 1 inch 
strips of each colour. You need four different colours. I 
scored them like shown below.


Here they all are looking all pretty..


I made a pattern to suit my card size. I then cut out a centre 
in the piece of white cardstock. I laid it over my pattern 
template and attached to my matt with washi tape.

Next I got too carried away with the moment and forgot to 
photograph how it was looking!!


So basically you follow the number pattern. Each side of the 
square is the same colour, work around until you have the 
middle square showing. Each piece is just sticky taped down 
on the edge to hold it in place.

I then flipped it over and added a piece of acetate to the third smallest square, it tucked in nicely after a little jiggle. Flip it back over and add your 18915 Pastel Stars Shaker Mix . Attach a piece of white cardstock to stop the shaker bits from falling out.

Finally to finish off the Iris Shaker I added a coloured 
stamped image from 19066 Hey Cupcake Stamp set. They were 
coloured using Stampin Blend markers. The sentiment I have 

 
Thanks so much for stopping by, appreciate you taking 
a little look see. Happy crafting - Tanya x


Friday, 22 July 2022

Floral Dance Birthday Cards


Well hello.....

I have a couple more cards to share with you.
I made these two using Paper Rose Studios 
The papers in this collection are just gorgeous. There are 
quite a few sentiments you can use if making cards.


Best Wishes Card - Die cut out the lattice piece from the set of dies.
Cut up your paper to fit your card base. Distress the edges. 
Then cut the next piece of paper which has the square image, 
slightly smaller and distress the edges. Stitch around the square 
with pink DMC thread. 

Colour some white guaze using distress oxide and water. I used Tattered Rose and Spun Sugar distress oxide. Once the gauze is dry, attach to your card and add die cut piece and fussy cut sentiment.


Happy Birthday Card- Die cut out the lattice piece, 
cut into two pieces and cut off the outside edge. Cut your paper 
to be slightly smaller than your card base. Cut a second piece 
slightly smaller again. Distress the edges of these two pieces.
Cut the barcode piece into two and lay on your card. 
Then attach the diecut pieces before attaching one more 
piece of paper distressed. Add coloured gauze and then 
the final piece of paper.


Tuesday, 12 July 2022

Fairy Garden Shaker cards


Hello there!
Tanya here sharing another couple of cards that I have 
created for Paper Rose Studio. 
As you know, I love a shaker card. So here I have made two 
different shaker cards, I've never made them like this before 
so they were kind of like trial and error.


To make both of these shaker cards are the same process really. 
Score a piece of acetate to measure the same size as the background 
paper you are using for your shaker card. Fold the acetate edges 
over behind your background image, attach three sides down onto the 
back of the background paper with tape. Pour some shaker mix in 
between the acetate and the background and seal behind with tape.
Attach some fussy cut pieces and your sentiment.


The Paper Rose products I have used on these cards are:
24613 Fairy Garden 6x6 Paper Collection
19670 Sending Fine Script Layered Die


Sunday, 3 July 2022

Happy Birthday card using scribble stamps


Hello crafty friends
Yikes it's July already!!!

Today I am sharing another card I have made for Paper Rose Studio.
I had so much fun making this card, and the new Scribble stamps were the perfect centre for the flowers.


First thing I did was create the background. To create the 
background, sponge paint onto the background cardstock, lay 
your stencil over the painted area and then rub over the stencil 
with a wet wipe. I did this for the rest of your background, 
different colours and different stencils.
 Once dry, draw an edge design with black pen.
The stencils I used were: 


To create the flowers I have stamped using the 
stamped image. Now cut two more circles slightly bigger than 
the stamped images using different papers from the Sweet Hugs collection. Do this for all four flowers. Cut out stems and leaves. 
Ink around the edges with black ink.
The sentiment I used is from the 25603 Rainbow Poppies Sentiments.

Wednesday, 22 June 2022

Hello Gorgeous


Hi there
Time to share another of my DT projects for Paper Rose Studio.
Today I am sharing a card I have made using the gorgeous 
Audrey Circle Mandala Die


To make this card I have cut my orange paper from the 
than my card base. Next I have cut a peice of 
19057 Silver Shimmer Cardstock a little smaller than the 
orange paper. I have also die cut out from the 
silver shimmer card three mandalas using the
 I have attached the diecuts to a piece of yellow paper from 
the paper collection. Before attaching the yellow paper to the 
silver shimmer I have hand stitched inside the middle of the 
mandala using DMC thread.
My sentiment was made using the 16951 Hello Layered Die 


Once again, thanks for stopping by.
Happy crafting - Tanya xx