Sunday, 3 April 2022

Hud Outline Cards


Happy Sunday Friends

Today I am sharing a couple of cards I have made for 
Paper Rose Studio.
I love the Hud Outline die of theirs. At first I was only 
going to make one card but as I had to die cut out six to 
make the fist card I thought I may as well make 
another card using the left over pieces.


So this was quite fiddly to glue the pieces back into the 
diecut but well worth it I think. I love the end result 
and I love the colours I used.


These are the three die cuts I had left. I glued the first 
two as close to the outside edge as I could. The third die 
cut got a little lost so I decided to glue it onto white 
cardstock and raise it with foam tape. It still needed 
something else so I ended up matting it in black cardstock 
and then matting the large piece of white cardstock.
The black has certainly helped it all pop and stand out better.


The Paper Rose products that I have used for these 
two cards are:
raise my sentiments and the middle section on card two.

Thanks so much for stopping by.
Cheers - Tanya x


Thursday, 24 March 2022

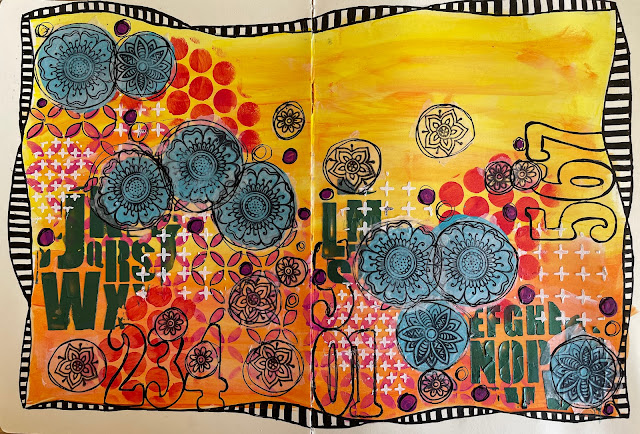
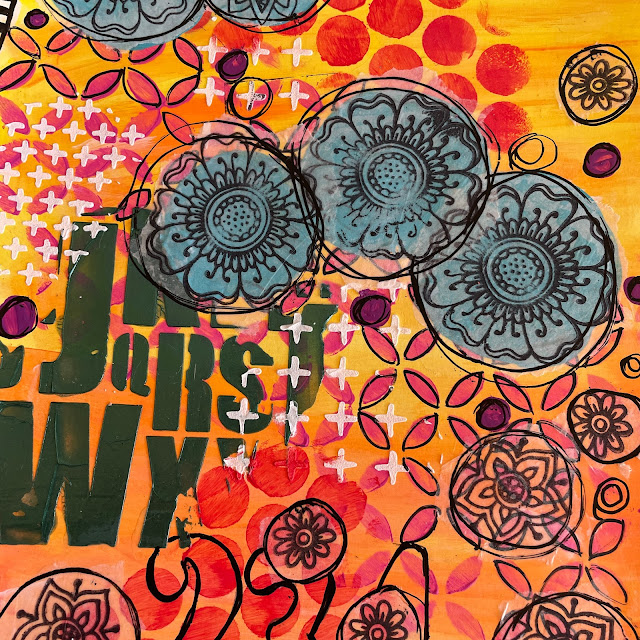
Art Journal


Good morning friends

It was time to make use of all the gorgeous Paper Rose 
stencils that I have in my stash, I buy new things all the 
time and forget to use the older stuff. So what better way 
 to use them - do an art journal page.


To begin this page I drew a border around the edge of 
my page using a black marker.
Next I painted around the background of my art journal page with paint. 
The new Art by Marlene paints are just fabulous. I love the small 
nozzle on the bottle so there isn't as much waste...well for me 
anyway, I'm a little heavy handed.
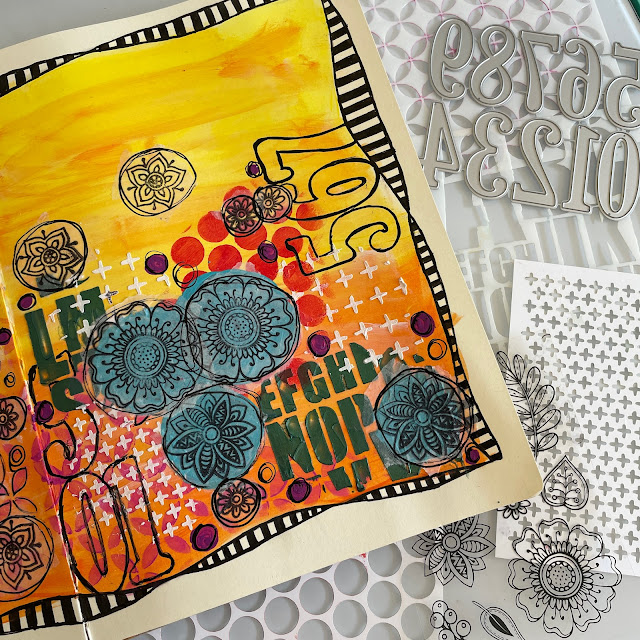
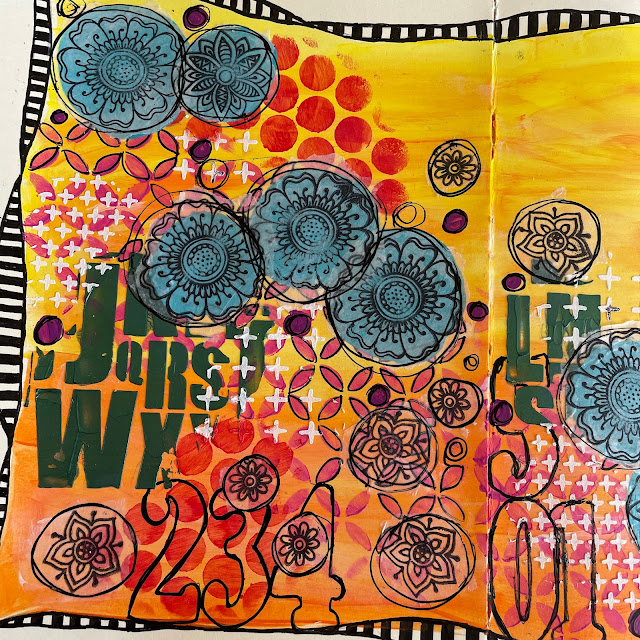
Stencil using different coloured paints, mediums and stencils. 
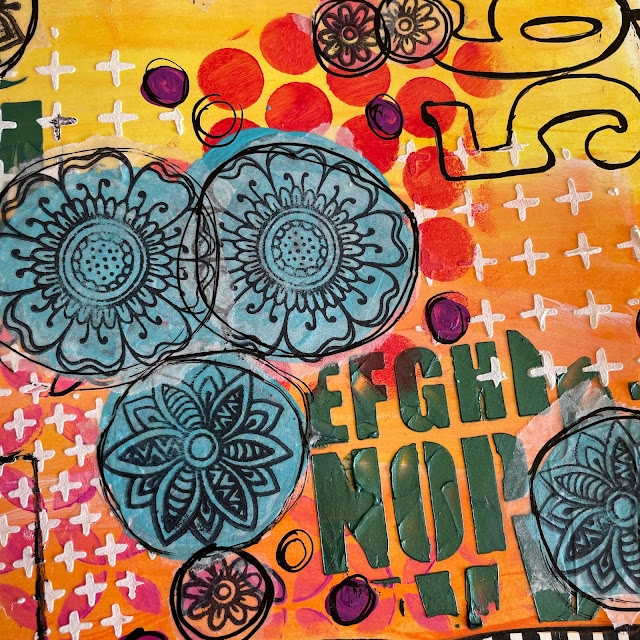
Paint circles onto your page, stamp flower images onto deli paper 
and tear out before attaching to the circles using gel medium. 
Draw some freehand circles around the stamped images and paint circles. 
I also traced around the large number dies.


The Paper Rose items I have used on 
this art journal page are:


Saturday, 12 March 2022

Welcome Home


Well hello there.

When your darling girl moves into a new home it's time to make 
her a card and post it to her new address.

These stamps were perfect for Leah's card, she's such a 
little green thumb and her new home is full of plants...when I 
say full of plants I mean every available space is taken up 
with the healthiest looking potted plants.


To make this card I have die cut out a white decorative background using the Amelia Decorative Background Die. I have cut a piece 
of paper just slightly larger than the diecut piece and placed 
it underneath to allow the background diecut to stand out more on 
the card base. This paper and the paper I have mounted the sentiment 


And lastly I have stamped and coloured the cute little
 Flower Pot border 1 Stamp and Flower Pot Border 2 stamp, fussy cut them out and attached them with foam tape to the card.
 

Thursday, 3 March 2022

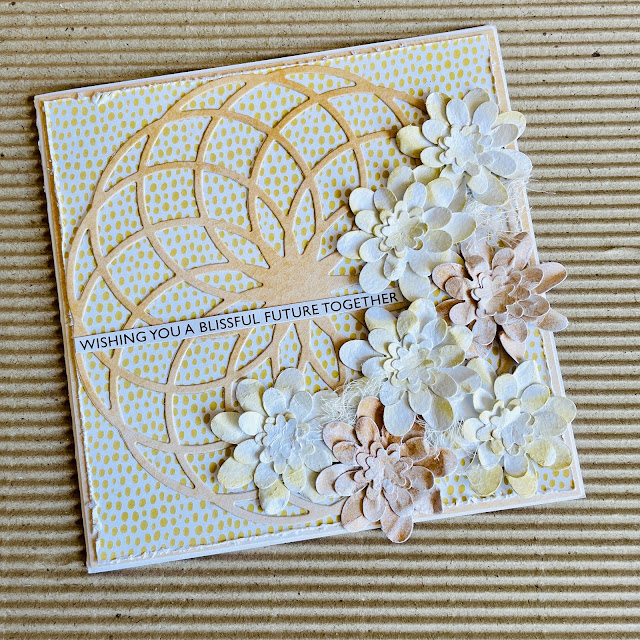
Wedding Card


Hello Friends xx

So it seems that February was love month. 
First we have had our Wedding Anniversary on February 3, then Valentines Day on February 14 and lastly we attended a 
wedding last Thursday. Wow and what a difference a week makes. 
Last week the weather was stormy but stayed nice for the entire wedding. This week we are dealing with floods and devastation. Stay safe everyone, and help out those struggling as much as you can x


Here is the wedding card I made for Rhiannon and Josh.
I have used papers from the Black and Gold A5 Paper Collection 

I have die cut out a circlet from the 
Circlet Layered Background 1 die and I also die cut out seven 
sets of flowers from the Moira Flower Die. Before putting the 
flowers together, I sprayed them with water and scrunched 
them up a little before opening them up and letting them dry. 
This makes the not so flat and also a little harder and stronger. 
The lighter coloured flowers I inked their edges with Antique 
Linen Distress Oxide. 
The sentiment is from the Black and White Sentiment Sheet


Thursday, 24 February 2022

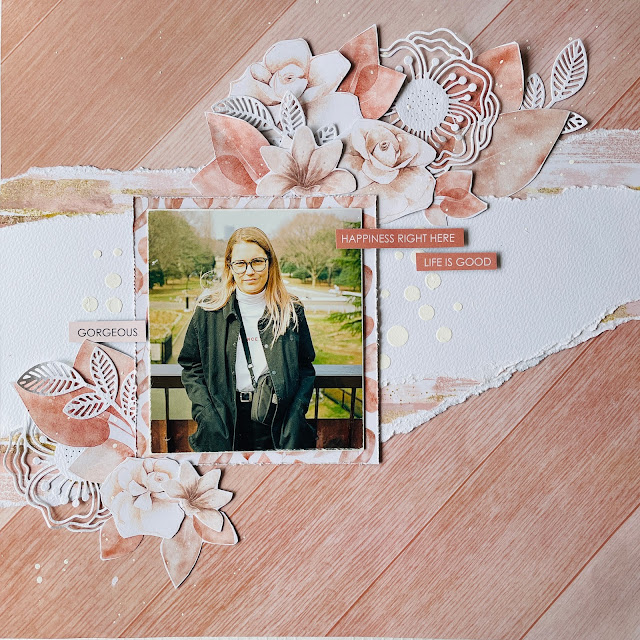
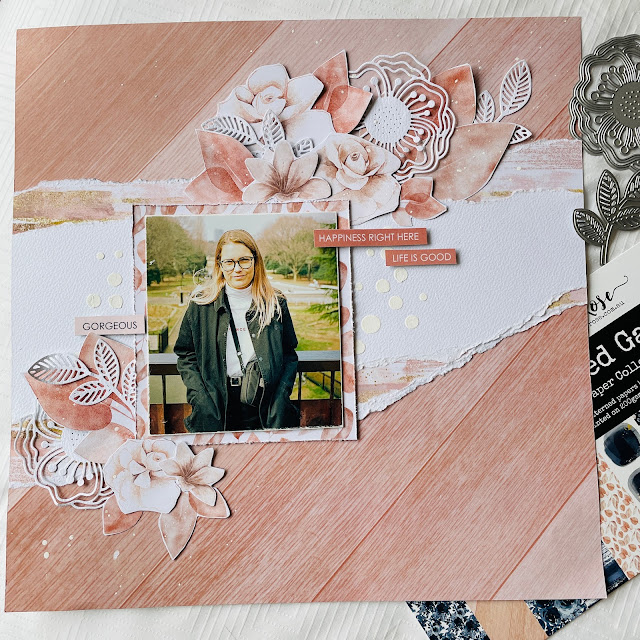
Enchanted Garden Layout - Life Is Good.


Hello....

Today I'm sharing my third Paper Rose DT project for this month.
I've created this layout using papers from the 
in this collection, navy and apricot tones. 
For this layout I have only used papers with the apricot tones, 
which I must say isn't a colour I'd usually choose but I'm 
happy I used it.


For this layout I chose four different papers from this collection. 
One for my background piece, one that I fussy cut out all 
the leaves and flowers, one that I matted my photo with 
and the last piece I have torn to layer with the 
white cardstock piece.

On the torn white cardstock I have stenciled just near the photo 
using Mont Marte Light moulding paste and the Bubbles Stencil.
I have also die cut out some flowers and leaves using the 


Saturday, 12 February 2022

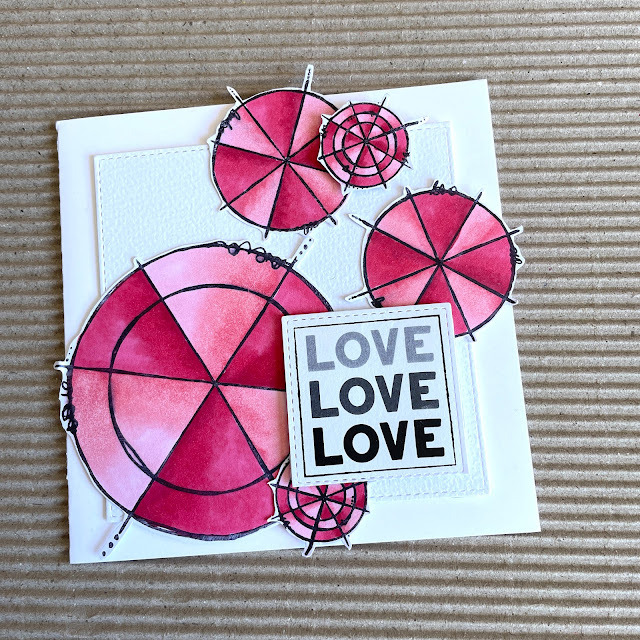
LOVE is in the air xxx

 Cheers to the weekend...

Today I'm sharing another DT card I have made using some 
goodies from Paper Rose Studio.

Seeing it is nearly Valentines Day I thought I'd create this card. 
It could be for your loved one or give it as a birthday card, 
thank you card or just an I love you card.


To make this card I have stamped images using the 
Arty Love Colour Wheel Stamp, I coloured them with 
Stampin Blend markers and cut them out.
Next I die cut out one large square from white cardstock 
and the love sentiment from the Black & White Sentiment Sheets
To die cut out the squares I have used the Stitched Squares Die Set.
The large square has been raised using some scrap cardboard that 
I had in my stash and I have also raised the love sentiment too.


Thursday, 3 February 2022

Mountain Trek


Good morning friends

Thanks for stopping by to see my latest card I have made 
for Paper Rose Studio.

I thought it was about time I made a male inspired card, or 
suitable for those female hiking friends I have.


On this card I have used papers from the 
Mountain Trek 6x6 Paper Collection. And of course I have used 
the super cute Working Boots Stamp which I have coloured and 
fussy cut out. For the sentiment I have used a sentiment from the